 If you’re looking for a way to amp up your summer get-together that requires minimal effort but delights even the most cynical New Englander, look no further. For some unknown reason, filling a non-conventional vessel with fresh juice and booze provokes giddiness and pure joy. I should know – I’ve tapped countless pumpkins and pineapples and still get excited to see fresh cocktails come out of the spout.
Below are some tips and instructions on how to tap a summer classic – the watermelon. With a couple of simple tools and about 20 minutes of effort (tops), you (and your watermelon) will be the hit of the summer.
I used Square One Cucumber Vodka to spike our juice, but feel free to get creative and mix it up with other spirits. Whether you want to tap a watermelon (or a cantaloupe)! you can follow these instructions. Add gin, vodka, tequila – whatever your heart desires, and feel free to garnish with fresh herbs for extra flair!
You will need:
1 watermelon (or fruit vessel of your choice)
1 keg spout (Amazon is your friend – it shouldn’t cost more than $15)
A cutting board
A chef’s knife
A paring knife
A large, sturdy spoon or ice cream scoop
A large bowl
A small bowl (to rest the melon on)
A blender
Booze of your choice (a 750ml bottle is plenty for average sized melons), such as Square One Cucumber Vodka.
When selecting your melon, look for one that can stand upright on its own and has somewhat of a flat-sided surface (that’s where you’ll put your tap). For a juicy watermelon, be sure to select one with a yellow base or side. It may not be pretty to look at, but it’s a sign that the melon is ripe, as the yellow spot is where it sat during the ripening process.
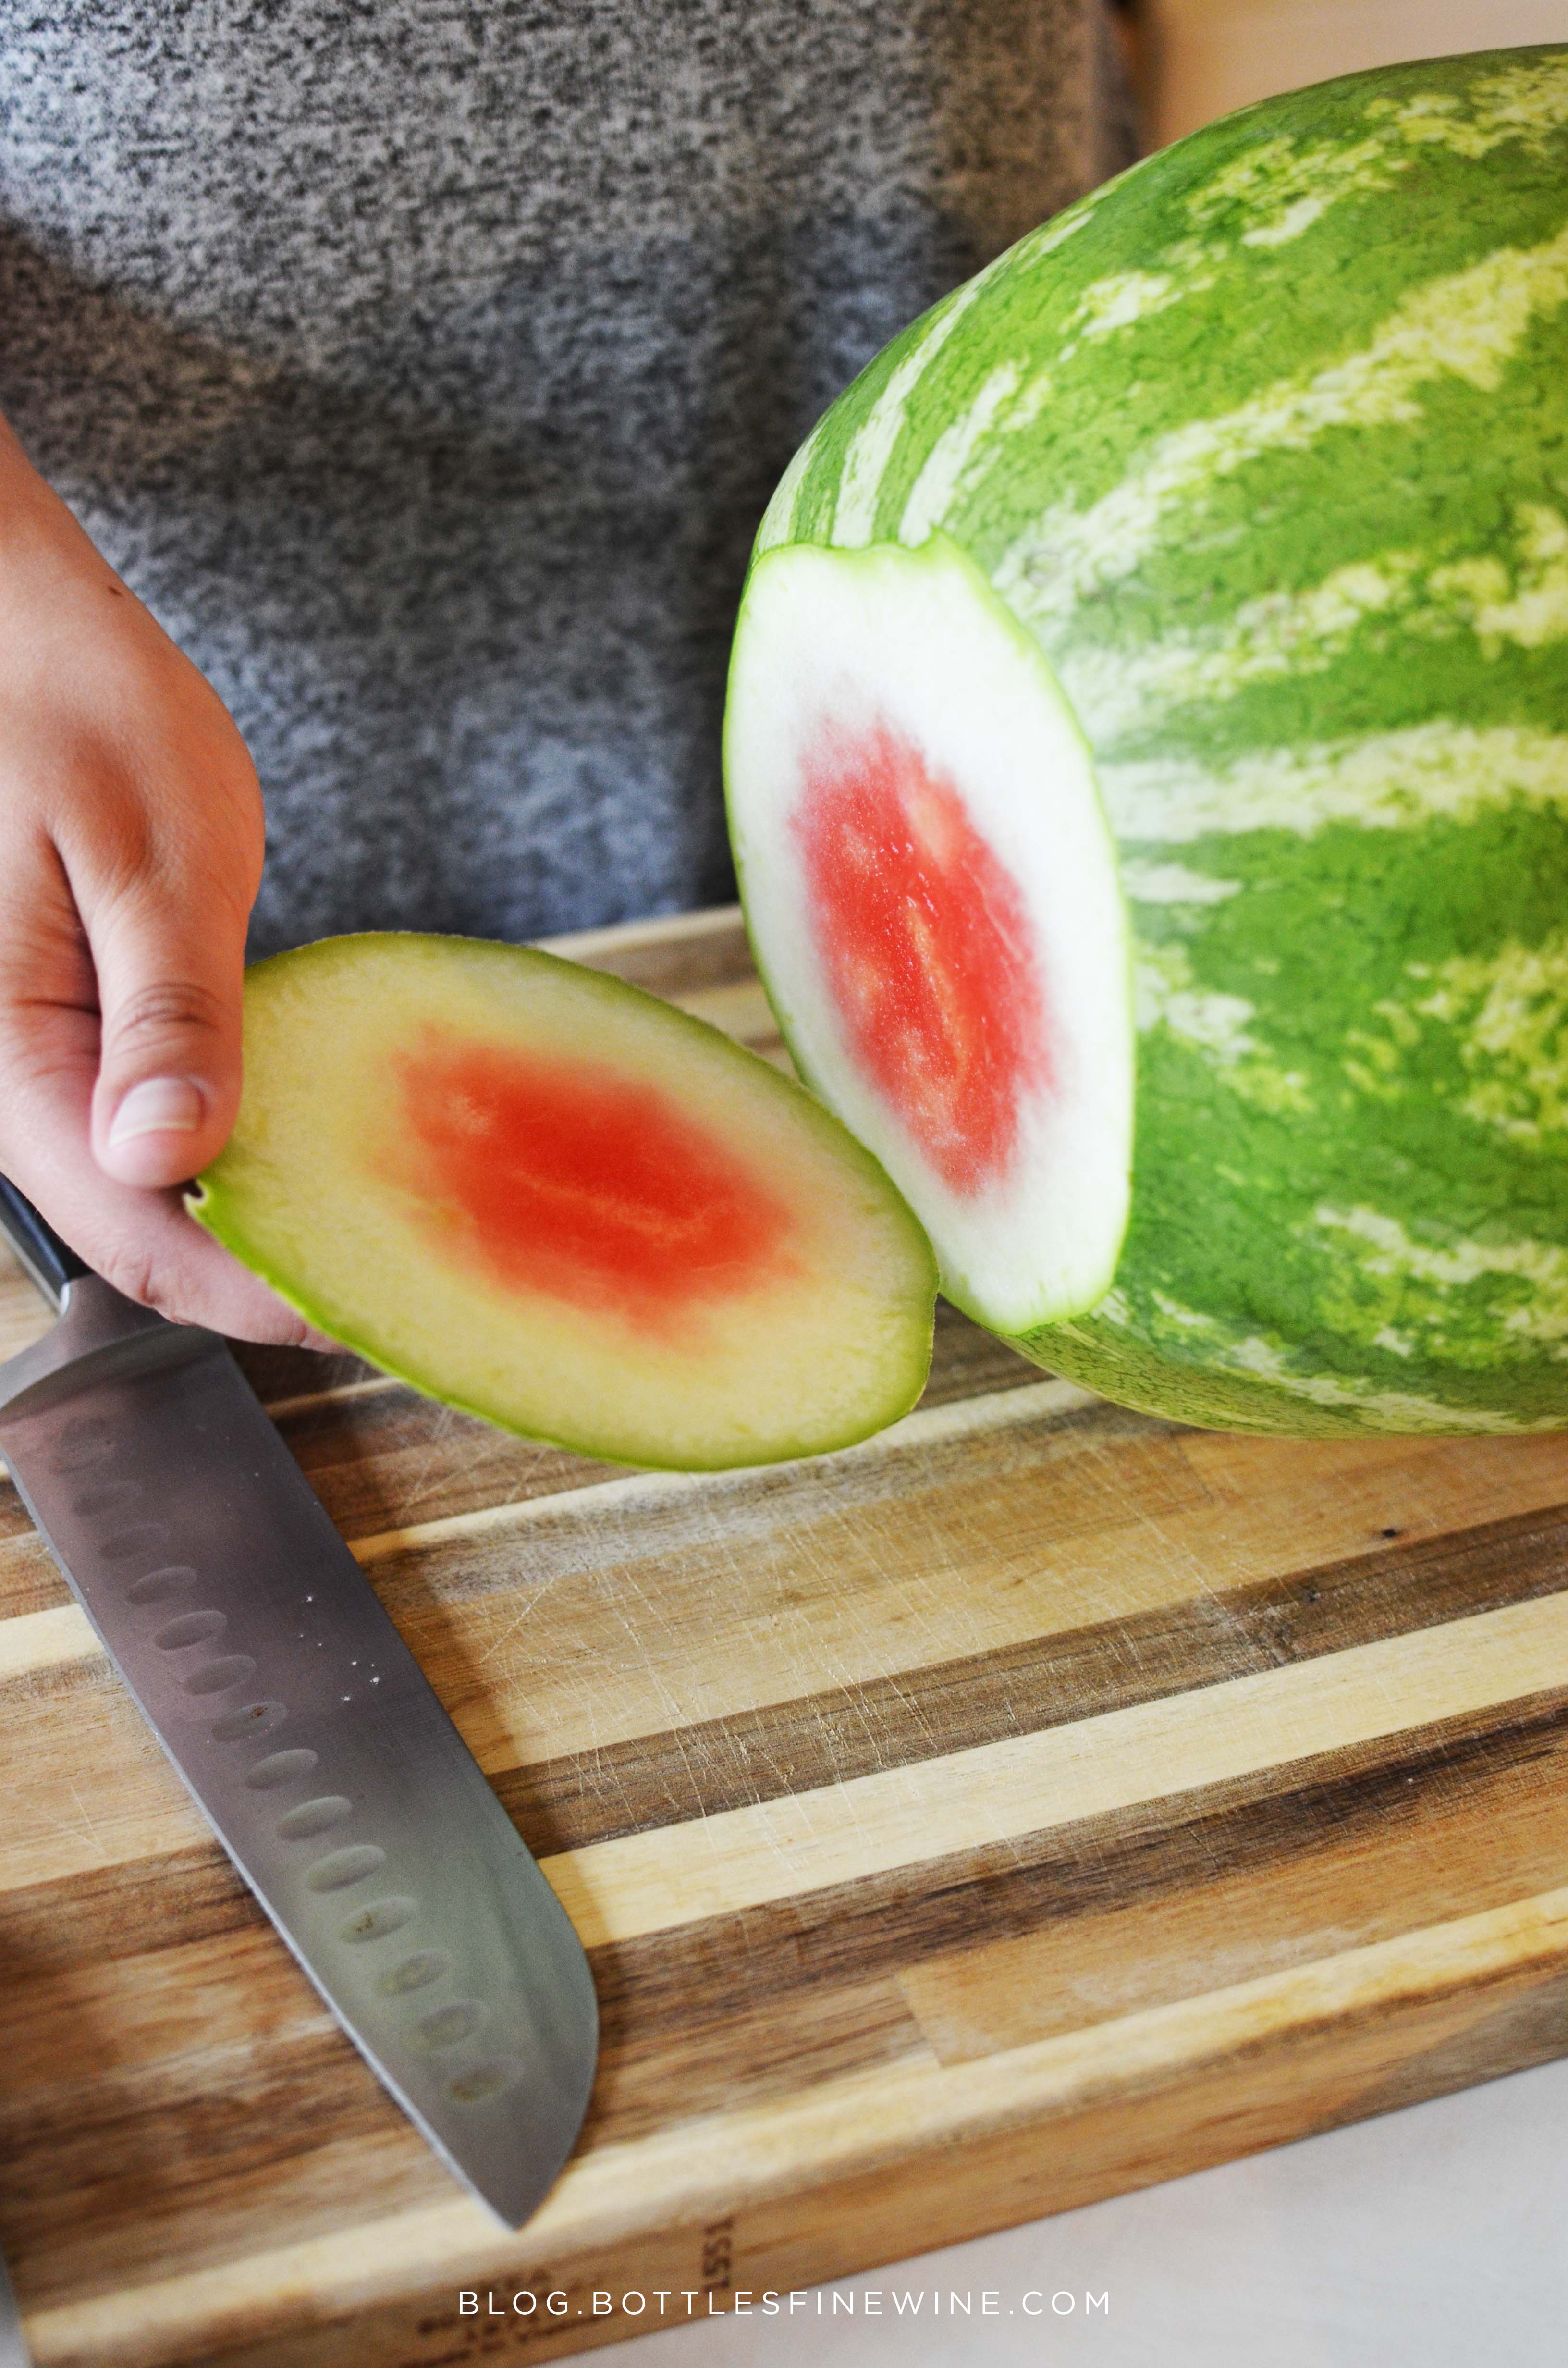
Using the chef’s knife, level the bottom of your melon (if it doesn’t stand totally straight on its own). Cut slowly, taking off just a little at a time. The exposed fruit should be mostly pith and rind, with little to no pink showing.
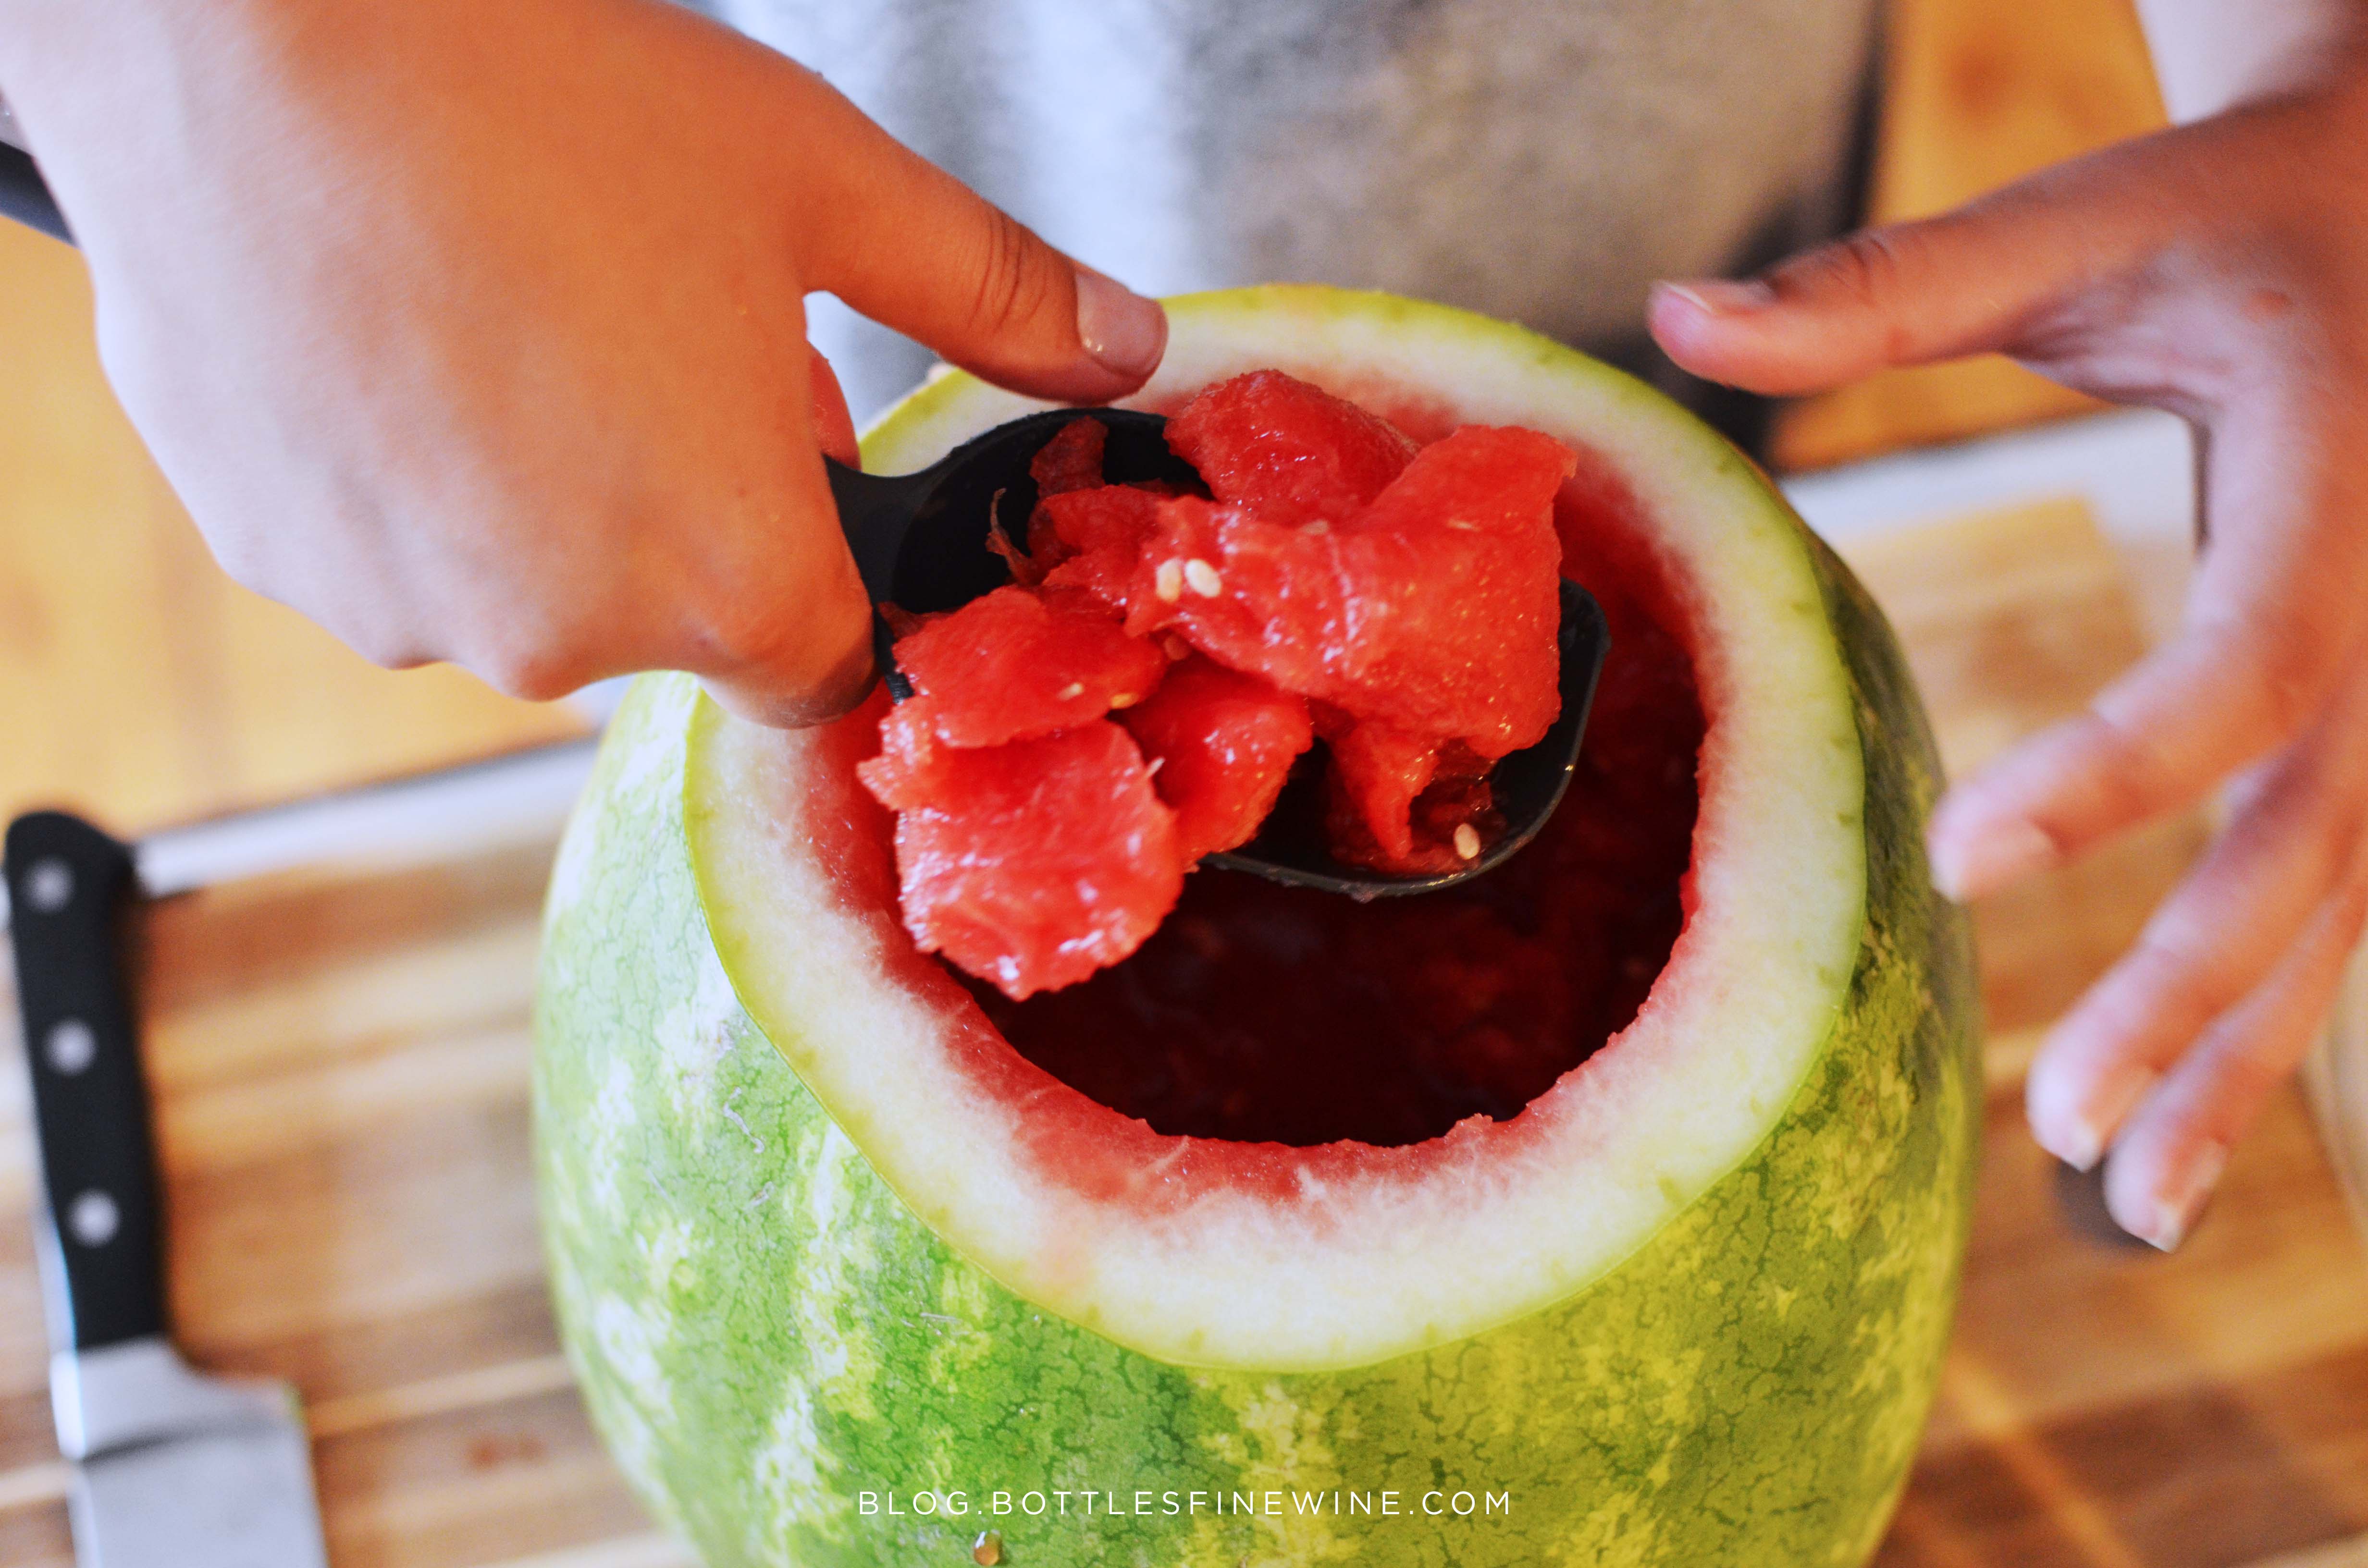
 Next, cut 1/4 off of the top of the melon, giving yourself enough room to scoop out the flesh and plenty of space to insert the spout. Scoop out the insides, reserving them in your large bowl. Be careful not to scoop too close to the bottom. Save the top as a lid for the finished watermelon “keg.”
 Place the small bowl upside down and rest your melon on it. From there you can gauge where you’d like to insert the spout. Keep in mind that it will have to be submerged low within in the cocktail for it to work, but not so low that your guests will have a hard time pouring into their drink. I’ve always had luck cutting about two inches below the middle of the melon.
Once you have your designated spot, make an indentation by carefully putting medium pressure on the pourer, and twisting it lightly into the fruit. Once you have an outline, carefully use your paring knife to cut the hole out, starting out small and cutting away slowly, stopping now and then to test and see if your pourer fits.
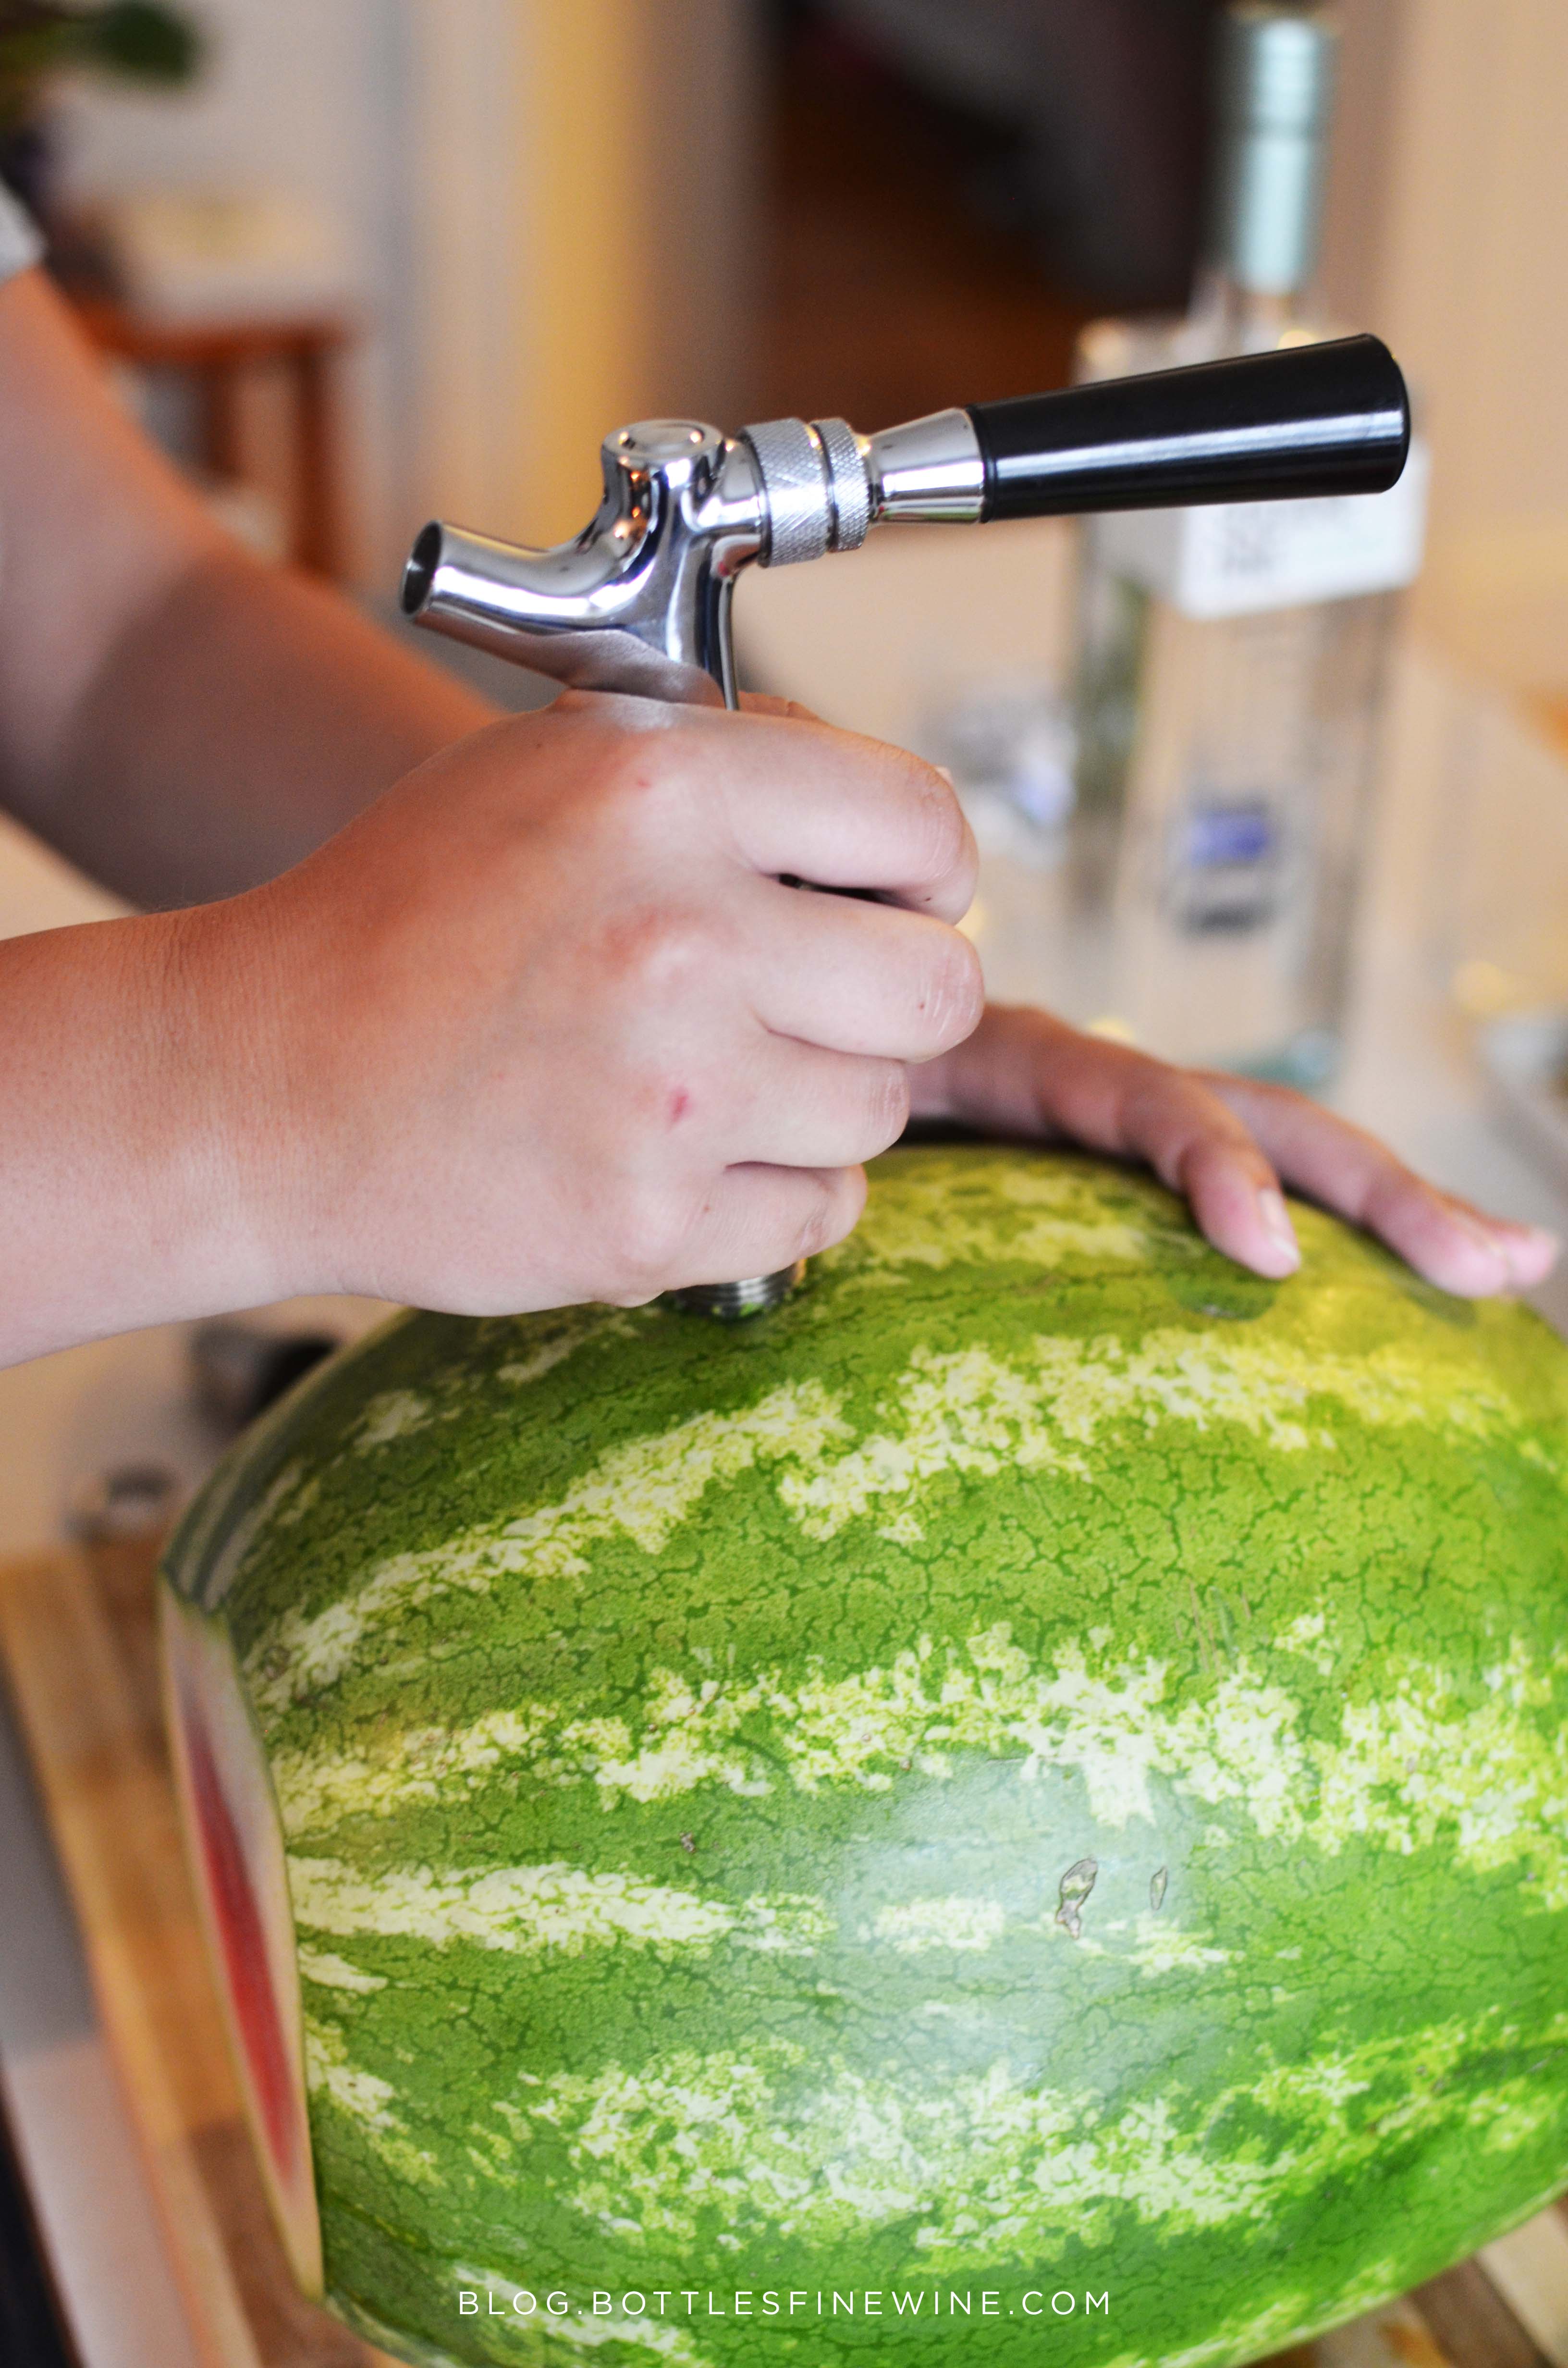 Once your spout is inserted, assemble the washers inside the melon according to the manufacturer’s instructions. These washers will hold the spout in place.
Next, put the fruit you’ve carved out of the melon into a blender, and liquify.
Now you’re ready to assemble your cocktail. I recommend using a 3:1 ratio of juice to booze. This keeps the cocktail fairly light if you’re out soaking up the New England sun on a hot day. The ratio will change, though, based on the size of your melon. If it’s on the larger size, you’ll want to use a touch more spirit.
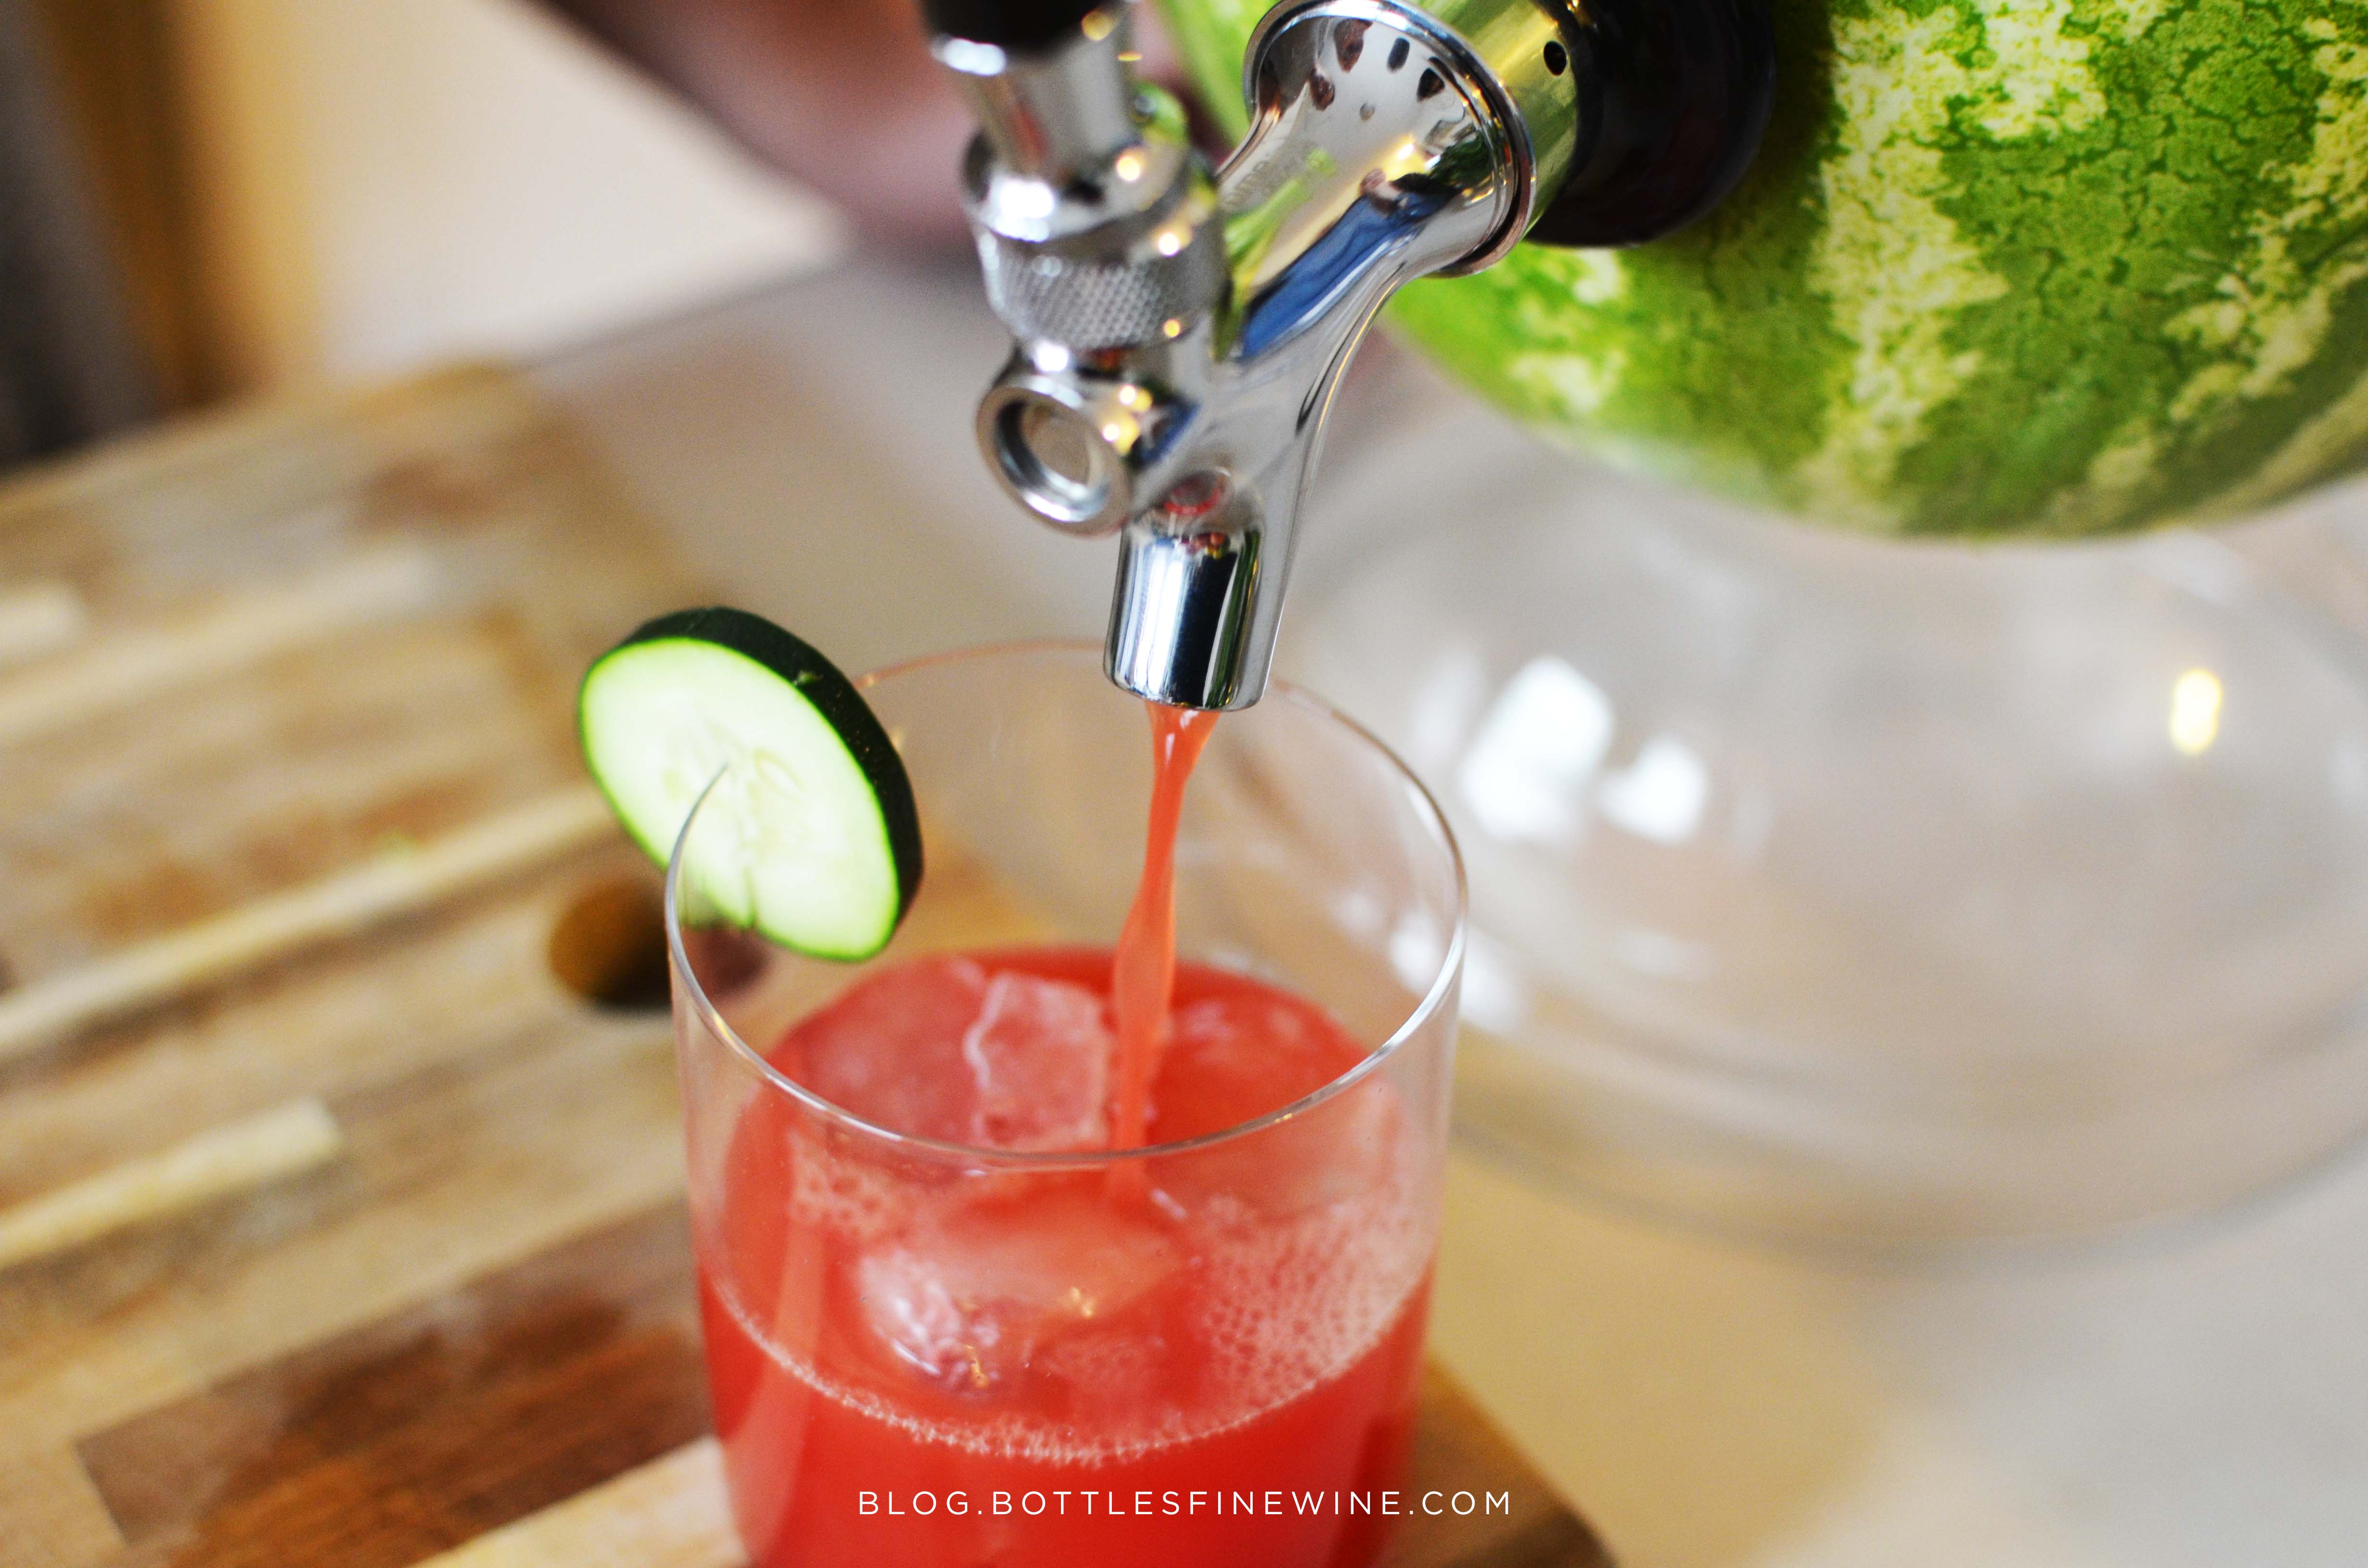
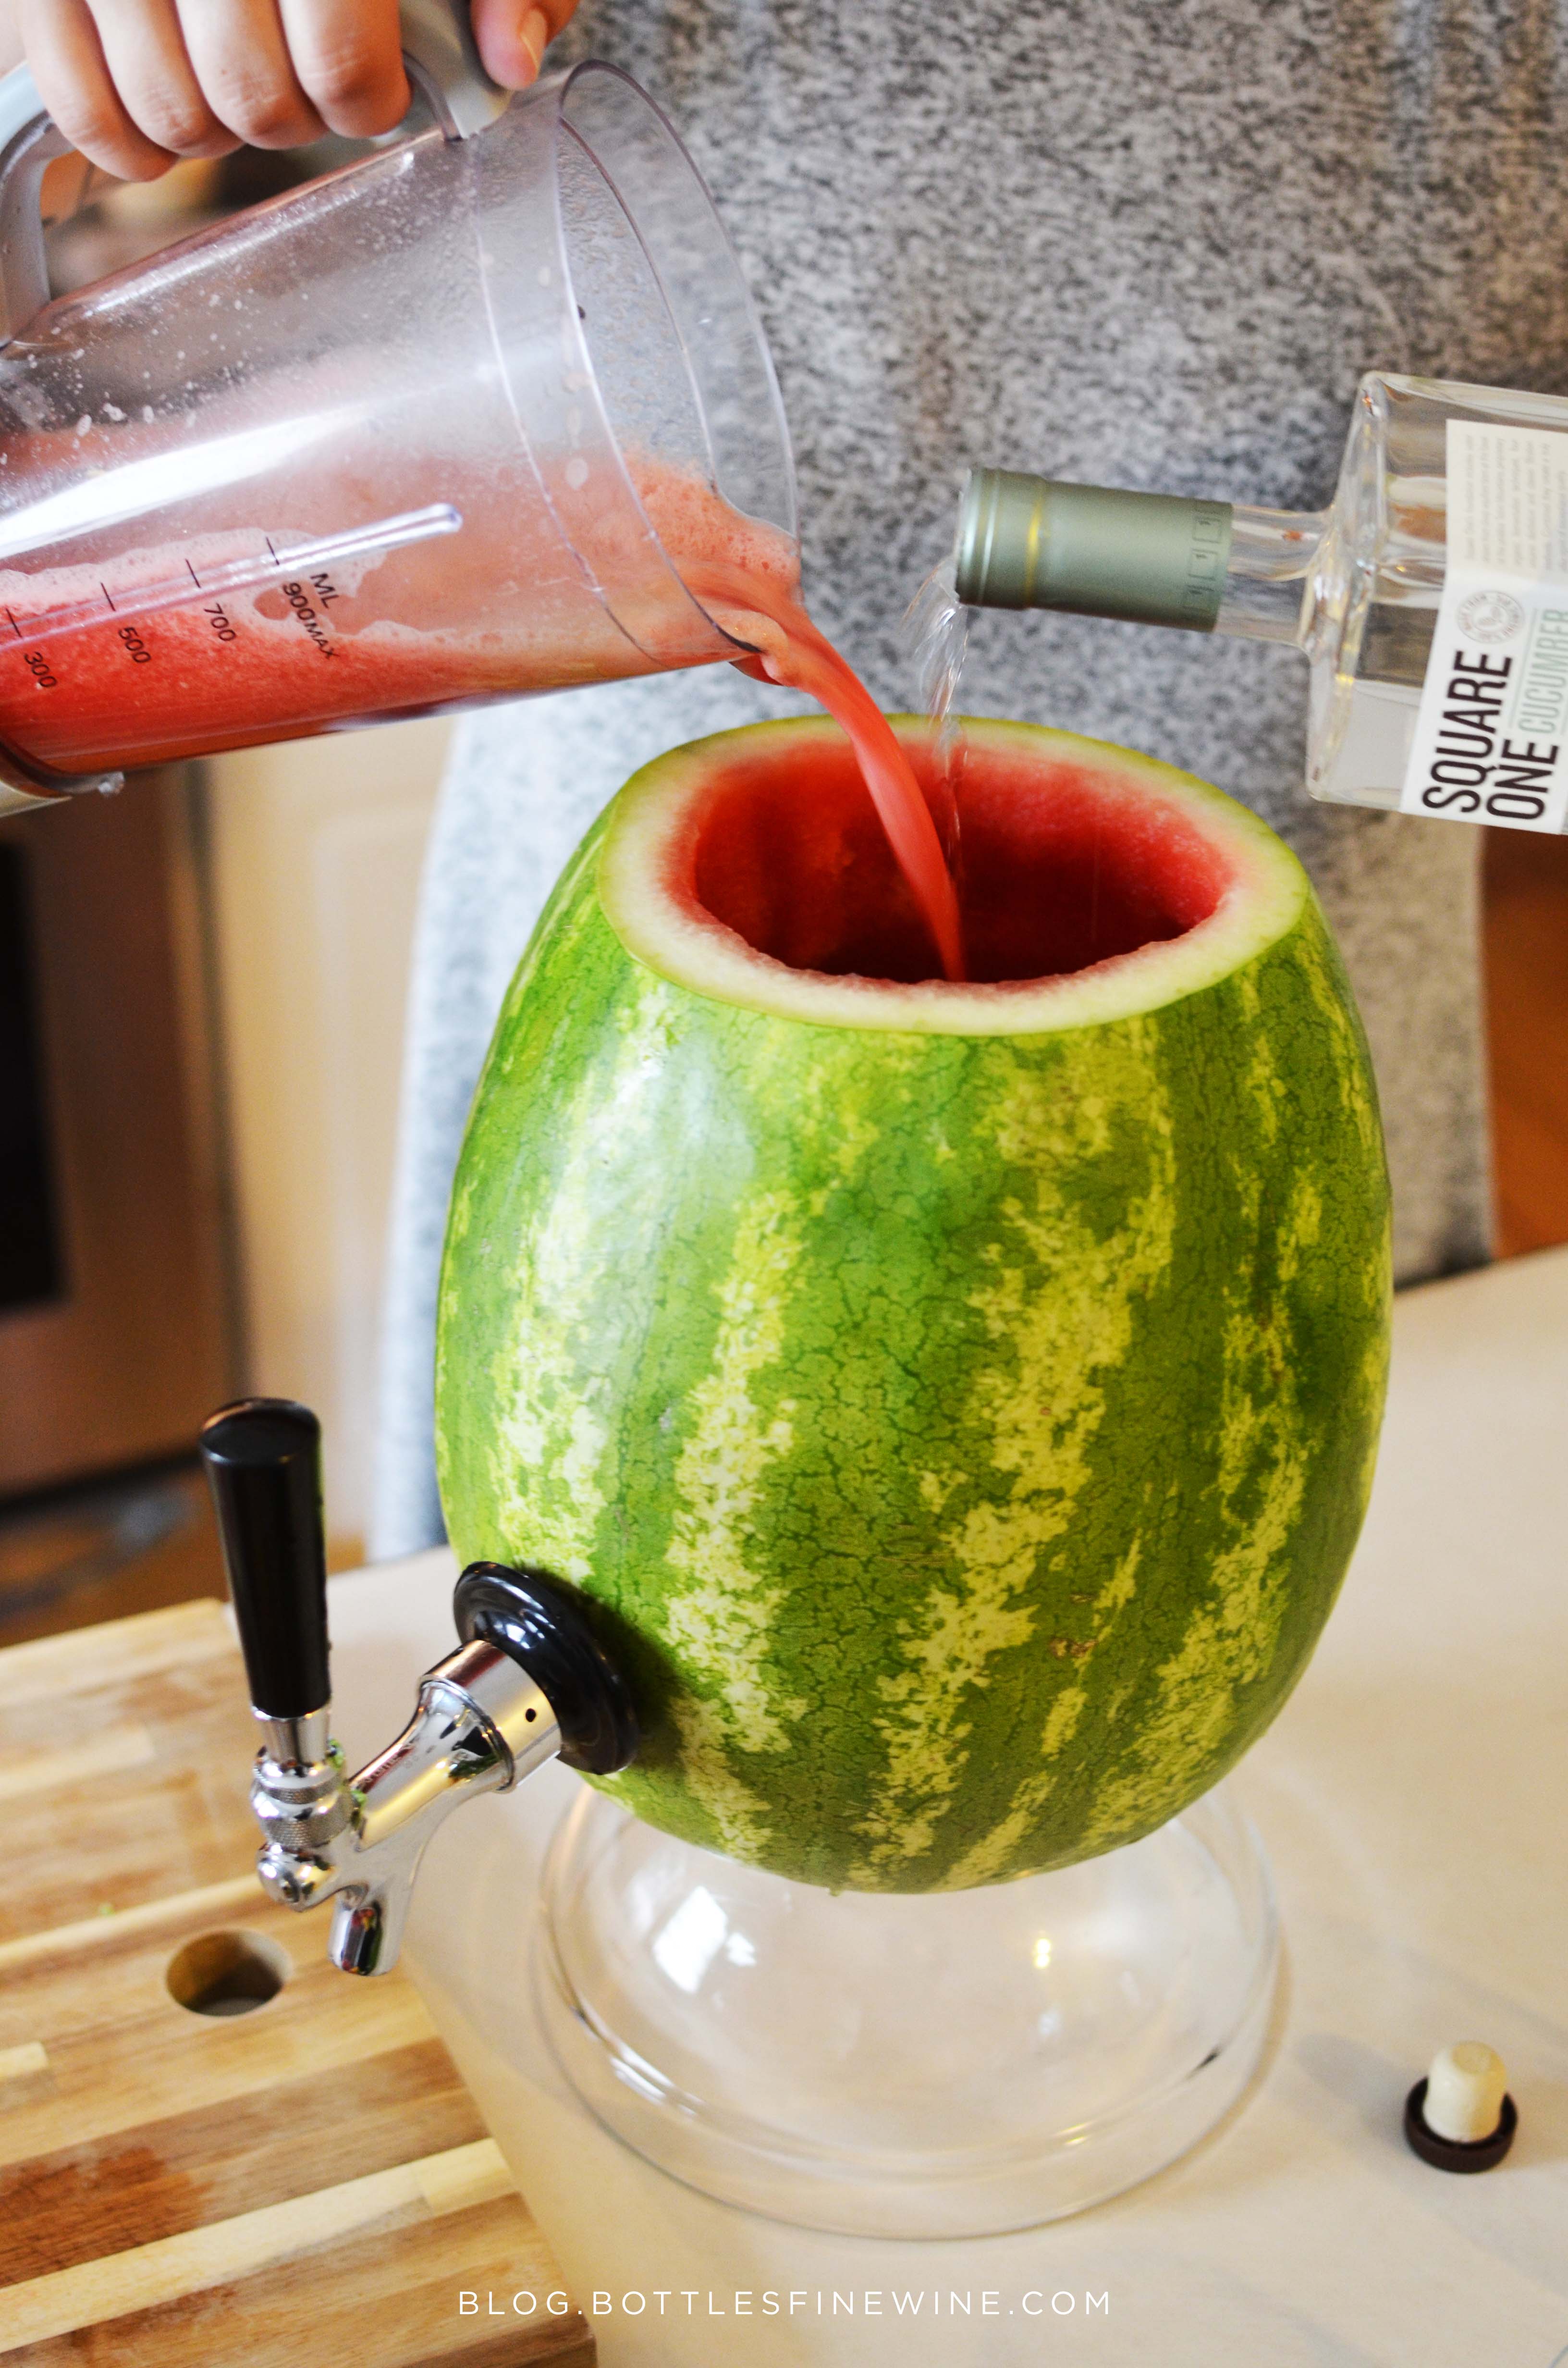 Once you have your liquids measured, add them to your melon, stir, and get to drinking! If you plan on putting the top of the melon back on to cover the juice, keep it slightly ajar, as some air circulation is needed to ensure a robust cocktail stream.
Serve over ice, and garnish with fresh mint, basil or cucumber.
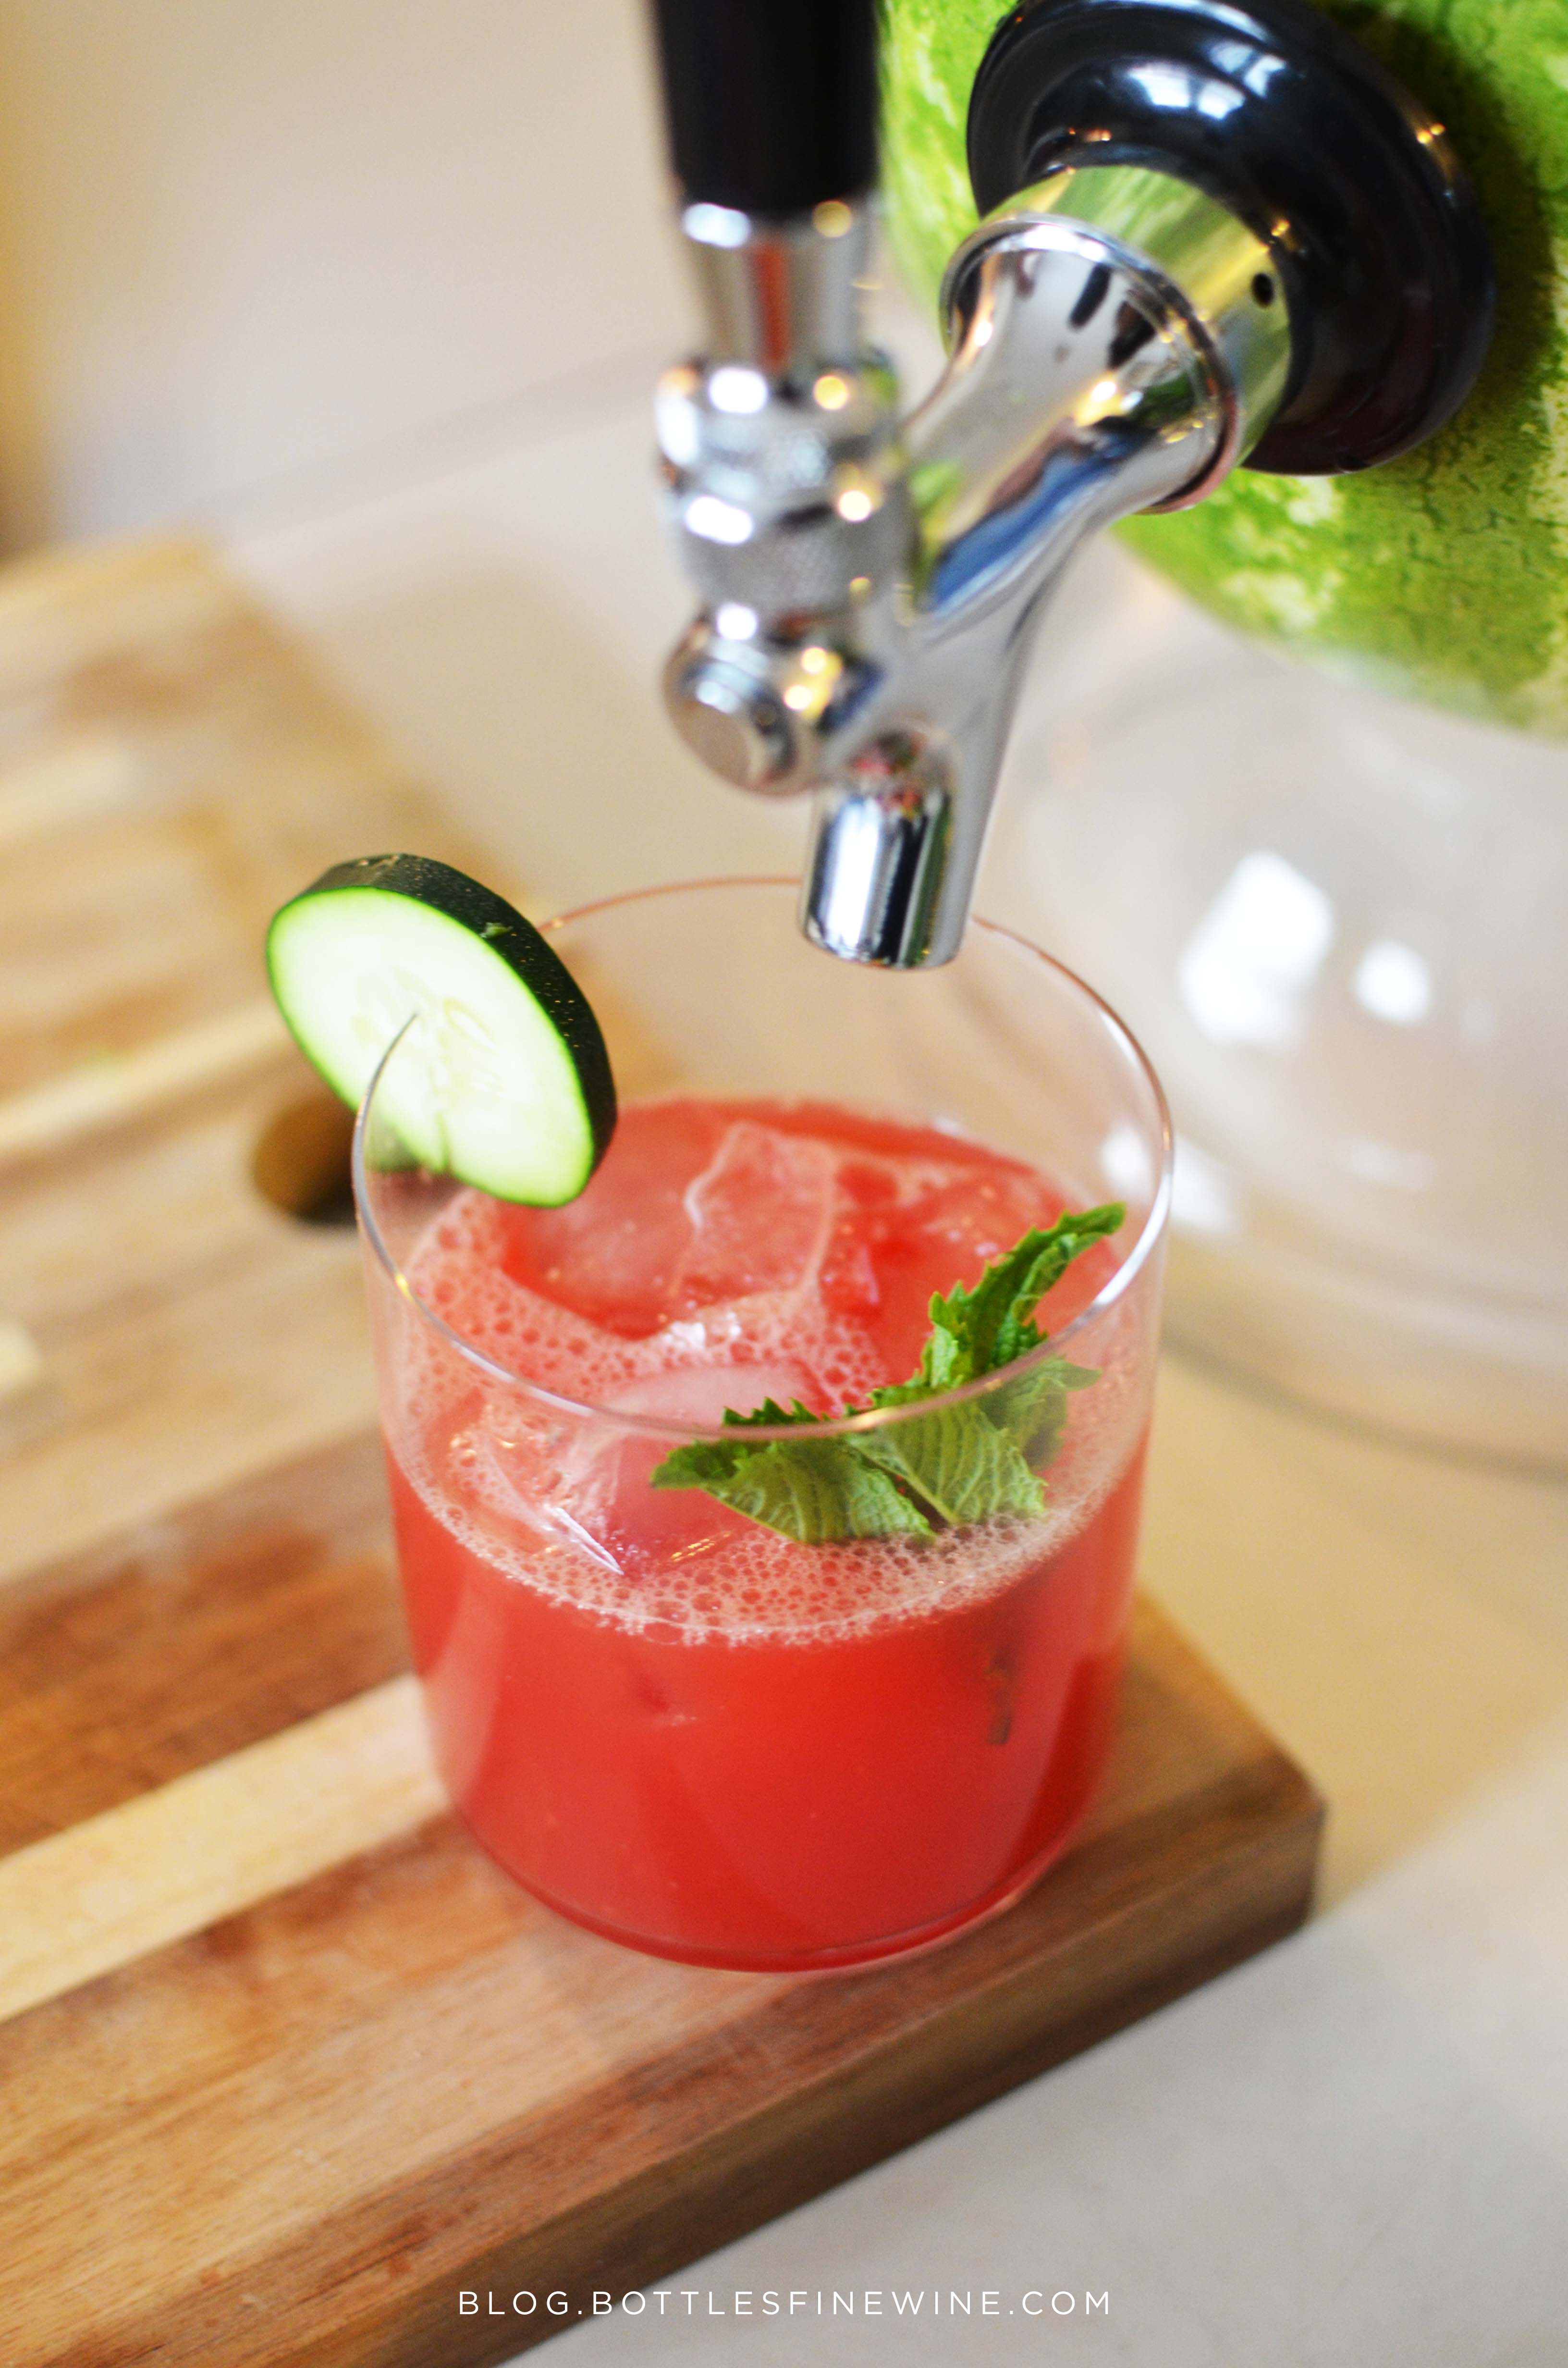 Cheers – have fun with this, and Happy Summer!
-Alex
###